Glass Skin: How to Get It, and See It on Your Face First
Glass skin is skin even and smooth enough to reflect light. Here is what actually produces it — the routine, the ingredients, the clinic options and how long each takes — plus a render of the result on your own photo before you spend a month on it.
Glass Skin simulator — example render
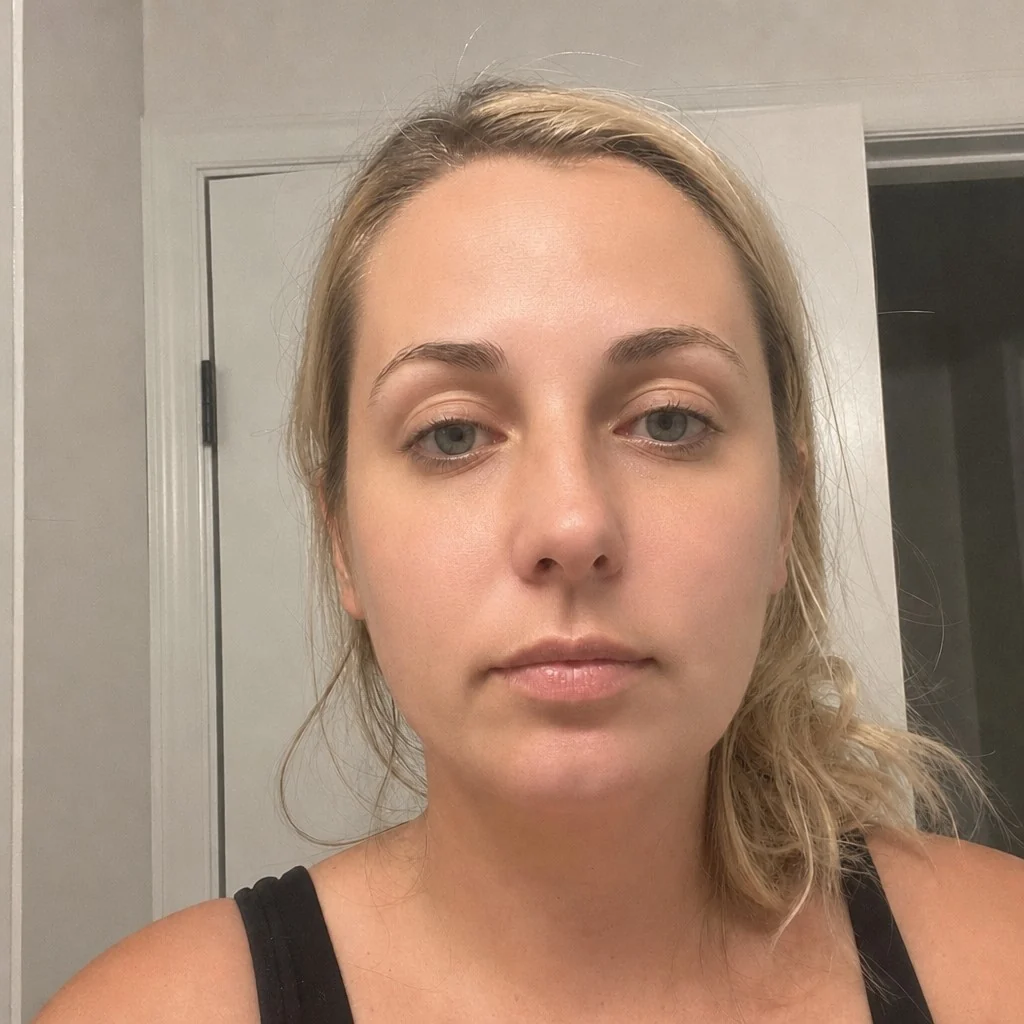
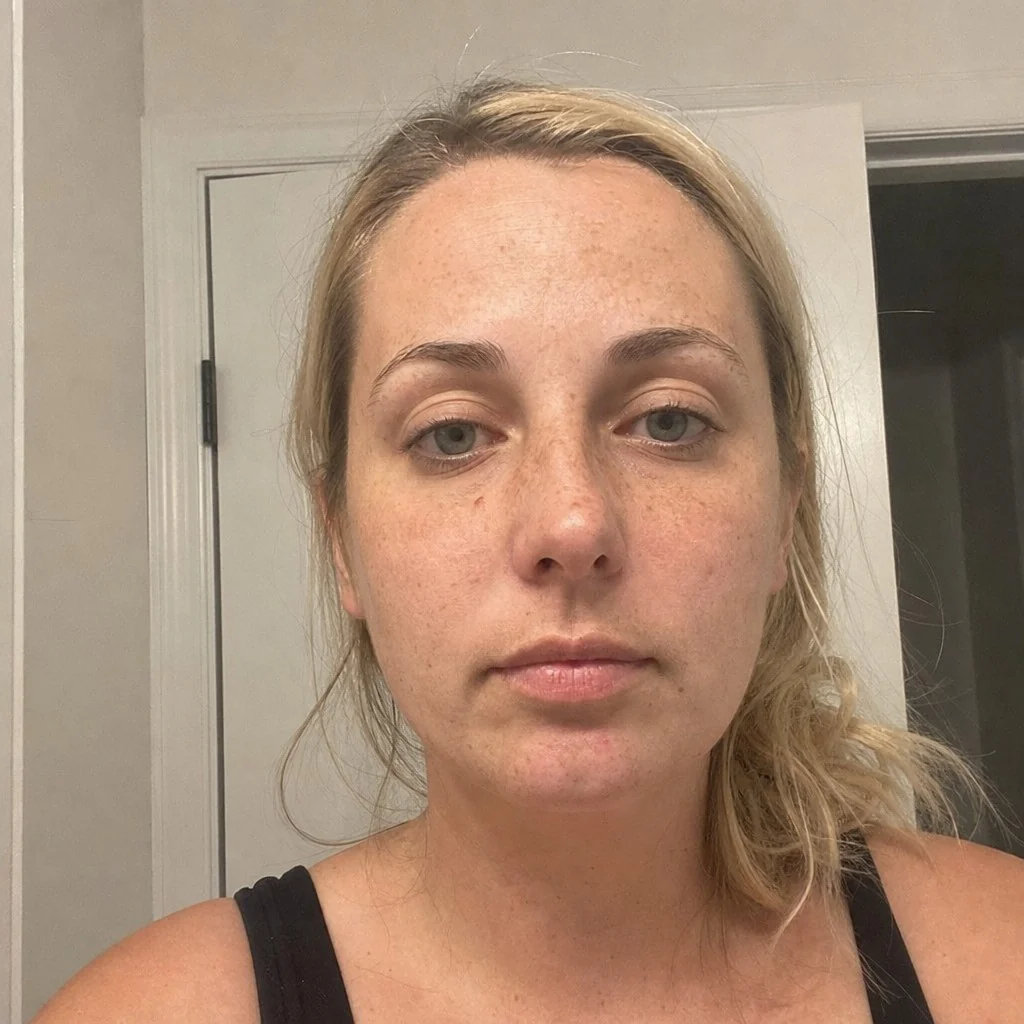
- What it is
- A skincare result, not a single treatment
- Realistic timeline
- 8–12 weeks for tone and texture
- How long it lasts
- Only while the routine is kept up
- Clinic sessions (US)
- Commonly $200–$800 each
- Upload one front-facing photo
- The render changes skin clarity, pore visibility and redness, without changing your features — and leaves the rest of your face alone
- Compare your before and after side by side
1 render = 1 credit
5 credits $4.99, no subscription · or Starter $7.99/month for 10. The face analysis is free.
What is glass skin?
Glass skin is a Korean beauty term for skin so even in tone and so smooth in texture that it looks almost translucent and reflects light like a pane of glass. It is not about having no pores or looking wet — it is about uniformity. Light scatters off rough or uneven skin and reflects off smooth skin, so anything that evens the surface makes the reflection stronger.
Korean glass skin became a global trend through K-beauty routines built on hydration layering, gentle cleansing and daily sunscreen. None of those are exotic. What made the look distinctive was consistency and a preference for many light, hydrating layers over one heavy cream.
Glass skin before and after: what actually changes
Most glass skin before and after photos show four changes at once. Knowing which is which tells you what is realistic for your skin — and which part of a photo is lighting.
| What changes | Before | After | What drives it |
|---|---|---|---|
| Texture | Rough patches, flaking, visible bumps | Smooth, even surface | Hydration, gentle exfoliation, retinoids |
| Pores | Enlarged or congested pores | Pores less visible | Oil control, salicylic acid, niacinamide |
| Redness | Blotchy or flushed areas | More uniform color | Barrier repair; persistent redness needs a clinic |
| Tone | Dark spots, post-acne marks | Even tone | Sunscreen, vitamin C, niacinamide — and time |
How to get glass skin: the routine, step by step
The famous ten-step Korean glass skin routine is mostly marketing; what matters is a few steps done every day. A workable glass skin routine looks like this.
Morning glass skin routine
- Gentle cleanse — a low-foaming, non-stripping cleanser, or just water if your skin is dry.
- Hydrating toner or essence — a thin, watery layer with humectants like glycerin or hyaluronic acid, patted in.
- Serum — niacinamide for pores and redness, or vitamin C for dark spots.
- Light moisturizer — a gel-cream seals the hydration without looking greasy.
- Sunscreen, SPF 30 or higher — the step that protects every other step. UV exposure undoes tone work faster than any serum builds it.
Evening glass skin routine
- Double cleanse — an oil-based cleanser to lift sunscreen and makeup, then a water-based one.
- Hydrating toner or essence, as in the morning.
- Active, two to four nights a week — a retinoid for texture, or an AHA/BHA exfoliant. Not both on the same night.
- Moisturizer, heavier than in the morning if your skin is dry.
The most common way people lose glass skin while chasing it is over-exfoliating. Stinging, tightness and new redness mean the barrier is damaged, and damaged skin looks duller, not glassier. Stop the actives for a week when that happens.
Glass skin products: the ingredients doing the work
Brands sell glass skin serums, masks and kits, but the label matters less than what is in the bottle. These are the ingredients behind most glass skin products, and what each one is realistically for.
| Ingredient | What it targets | When you notice it |
|---|---|---|
| Hyaluronic acid, glycerin | Dehydration, fine surface lines | Within days — the fastest visible change |
| Niacinamide | Pore appearance, redness, uneven tone | Weeks; studies typically measure at 8–12 |
| Vitamin C | Dark spots, dullness | Several weeks to months |
| Retinoids | Texture, fine lines, clogged pores | Months, often after an irritation phase |
| Salicylic acid (BHA) | Congested pores, oiliness | A few weeks |
| Glycolic or lactic acid (AHA) | Rough texture, dullness | A few weeks |
| Sunscreen | Preventing new pigment and redness | Invisible — but everything else depends on it |
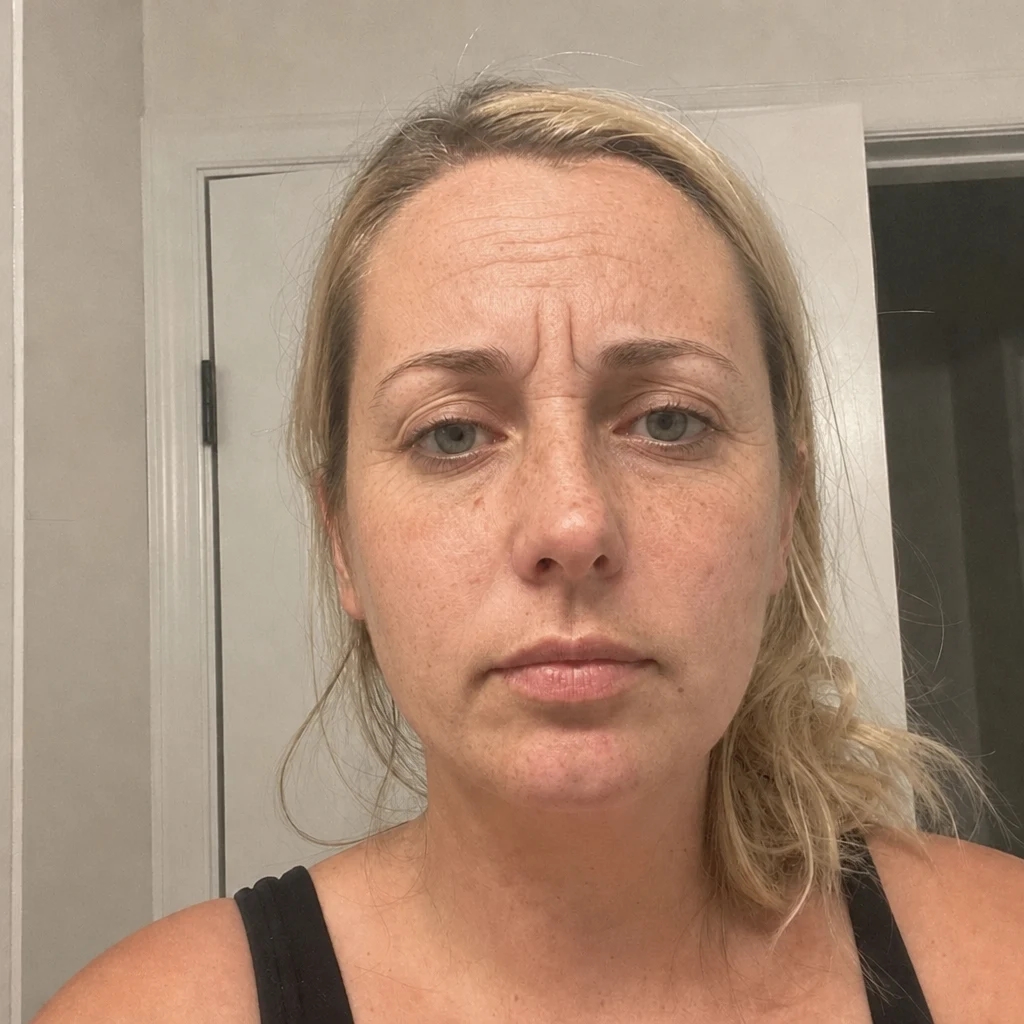
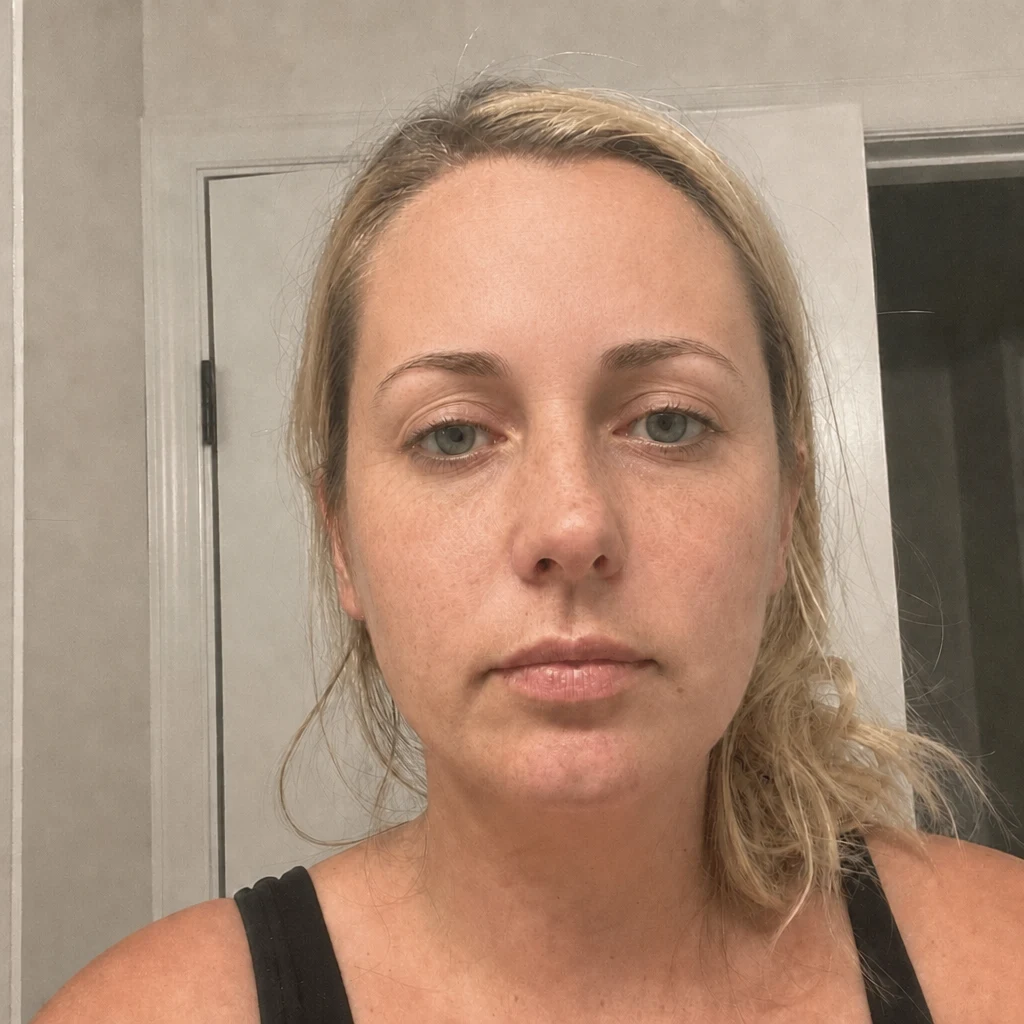
BeforeAfter — simulatedSee a glass skin on your own face
Run this simulationHow long does glass skin take?
Skin can look glassier within a day or two, because hydrated skin plumps and reflects more light. That is what "glass skin in 3 days" or "in 7 days" really means, and it fades as soon as the hydration does.
Changes to pores, tone and texture take longer. The outer layer of skin renews over roughly a month, and most ingredient studies measure results at eight to twelve weeks. Deep pigment, acne scarring and persistent redness usually do not respond to a routine at all — that is where clinic treatments come in.
Glass skin treatments in a clinic
When a routine has plateaued, clinics approach glass skin with treatments that act deeper than a product can. None is a one-off: every practitioner describing glass skin frames it as maintenance.
| Treatment | Best for | Typical downtime |
|---|---|---|
| Hydrating "glass skin facial" | Instant radiance before an event | None |
| Chemical peel | Tone, dullness, light texture | A few days of flaking for superficial peels |
| Microneedling | Texture, shallow acne scars | One to three days of redness |
| Fractional laser resurfacing | Texture, scarring, sun damage | Days to a week or more, depending on depth |
| IPL / vascular laser | Persistent redness, broken capillaries | Usually minimal |
Glass skin facial vs laser resurfacing
A glass skin facial hydrates and exfoliates the surface, so the glow is real but lasts days. Laser resurfacing remodels deeper layers, so it can change texture and scarring for good — at the cost of downtime and a real risk of pigmentation changes. Courses of resurfacing are commonly quoted at roughly $200–$800 a session in the United States, usually three to six sessions.
Is glass skin realistic for your skin type?
Glass skin is a direction, not a finish line, and how close you get depends on what you start with.
Oily or acne-prone skin
Keep the hydration layers light, favor salicylic acid and niacinamide, and treat active breakouts before chasing glow. Heavy occlusive creams can clog pores and push you further from the look.
Dry or sensitive skin
Dry skin often gets the fastest visible result, because dehydration is the first thing hydration layers fix. Introduce acids and retinoids slowly, one at a time.
Glass skin for men
The routine is the same. Shaving already exfoliates the lower face, so exfoliating acids there are often unnecessary, and a lightweight moisturizer with SPF covers two steps at once.
Medium and darker skin tones
Irritation from strong acids, peels and some lasers can leave dark marks (post-inflammatory hyperpigmentation) that take months to fade. Go slowly, and ask any clinic about their experience with your skin type before booking.
Glass skin simulator: see the result on your own face
The glass skin simulation renders clearer, smoother, more even skin on your photo while keeping your features and natural skin texture. It is a quick way to see whether the look suits your face before investing months in a routine or money in a treatment course.
Read the render skeptically: smoothing skin is what image models do best, so this is the most flattering simulation on the site. Nothing a browser measures can read skin either — landmark geometry has no pores. The full analysis is the layer that looks at texture, pigmentation and redness, and it pairs well with this render.
Questions to ask a dermatologist about glass skin
- Is what I want to change pigment, texture or redness — and does one treatment address all three?
- How many sessions before I would see the result in these photos, and what maintains it afterwards?
- What is the risk of post-inflammatory hyperpigmentation for my skin type specifically?
Alternatives to glass skin
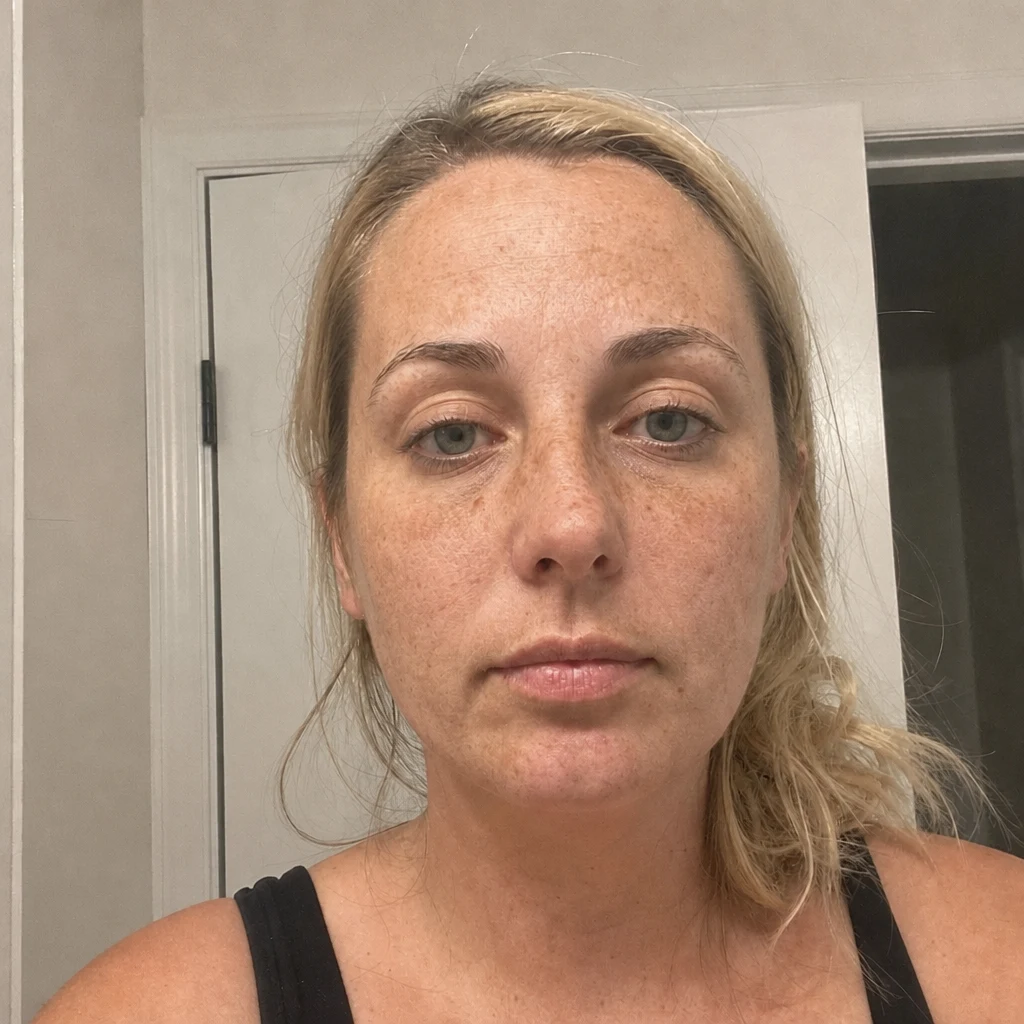
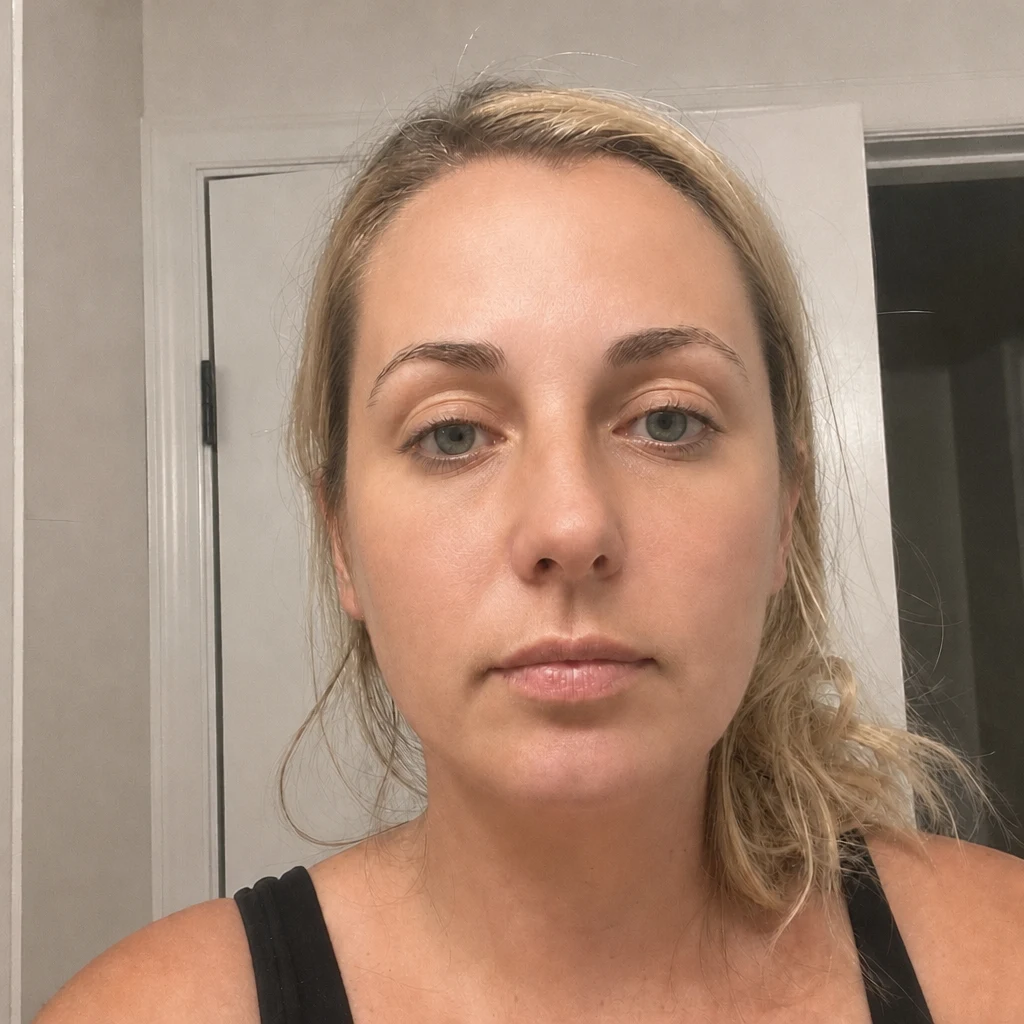
How the glass skin simulation works
Your photo is analysed for the landmarks that matter to this procedure, and the render changes skin clarity, pore visibility and redness, without changing your features while leaving the rest of your face alone. That constraint is the hard part — a generic image model will happily redraw your whole face and hand you a stranger who looks better.
This is the render most likely to flatter, because smoothing skin is what image models are best at and what compression does anyway. Treat the output as a direction, not as an achievable end state — and note that no render can tell you whether your texture is pigment, scarring or active inflammation, which is the distinction that decides the treatment.
It is an illustration of a plausible direction, not a prediction of your result and not a medical opinion. What it is genuinely good for is finding out whether you want the change at all — plenty of people render one, find the difference smaller than they imagined, and stop there.
Measure your face before a glass skin simulation
The free analysis tools measure symmetry, facial proportion and face shape, and tell you which measurements sit outside the reference range. Choosing a procedure from that is a much better starting point than choosing one from a photo you saved.


Glass Skin simulator — frequently asked questions
How do Koreans achieve glass skin?
Through consistency more than any single product: gentle double cleansing, thin layers of hydrating toner and essence, a light moisturizer and daily sunscreen. Many also use in-clinic treatments, which Korean dermatology makes widely available, and flattering light does the rest in photos.
Can I get glass skin in 7 days?
You can get glassier-looking skin in a week, because hydration plumps the surface and reflects more light. Changes to pores, tone and texture take eight to twelve weeks, and scarring or deep pigment needs a clinic.
How to get glass skin naturally at home?
Cleanse gently, layer hydration, wear sunscreen every day, and add one active — niacinamide, a retinoid or a mild acid — introduced slowly. Sleep, not smoking and not picking at blemishes matter as much as products.
What product is best for glass skin?
There is no single one. Daily sunscreen does the most long-term, a hyaluronic acid or glycerin layer gives the fastest visible glow, and niacinamide is the most versatile serum. Choose by what you want to change rather than by what the label calls itself.
Is glass skin worth it?
As a direction, yes — a hydrating, sun-protected routine is good for most skin. As a finish line, often not: pores and texture never disappear, and the photos that set the standard are usually part routine, part treatment and part lighting.
What actually causes the reflective glass skin look?
An even surface. Light scatters on rough or uneven skin and reflects on smooth skin, so the effect comes from texture and tone uniformity rather than from moisture or oil on top.
Is the glass skin simulator free?
The face analysis is free and needs no account. A rendered simulation costs credits because it runs on a GPU — $4.99 buys five and does not require a subscription.
How accurate is an AI glass skin simulation?
It is an illustration of a plausible outcome, not a prediction of your result. Real outcomes depend on your anatomy, the dermatologist and how you respond. Treat it as a conversation starter for a consultation, not a promise.
Do you keep my photo?
The free measurements never leave your browser. A simulation does send the photo to a rendering service, which is why it asks for explicit consent first, and you can delete the result from your dashboard at any time.
Can I show this to a dermatologist?
Yes, and that is the most useful thing to do with it. Bringing a picture of the direction you want is far more precise than describing it in words.
Other skin simulations
This page is not medical advice and we are not clinicians. A simulation cannot tell you whether a procedure is appropriate for you, what it costs, or what the risks are. Those questions belong with a qualified dermatologist.